|
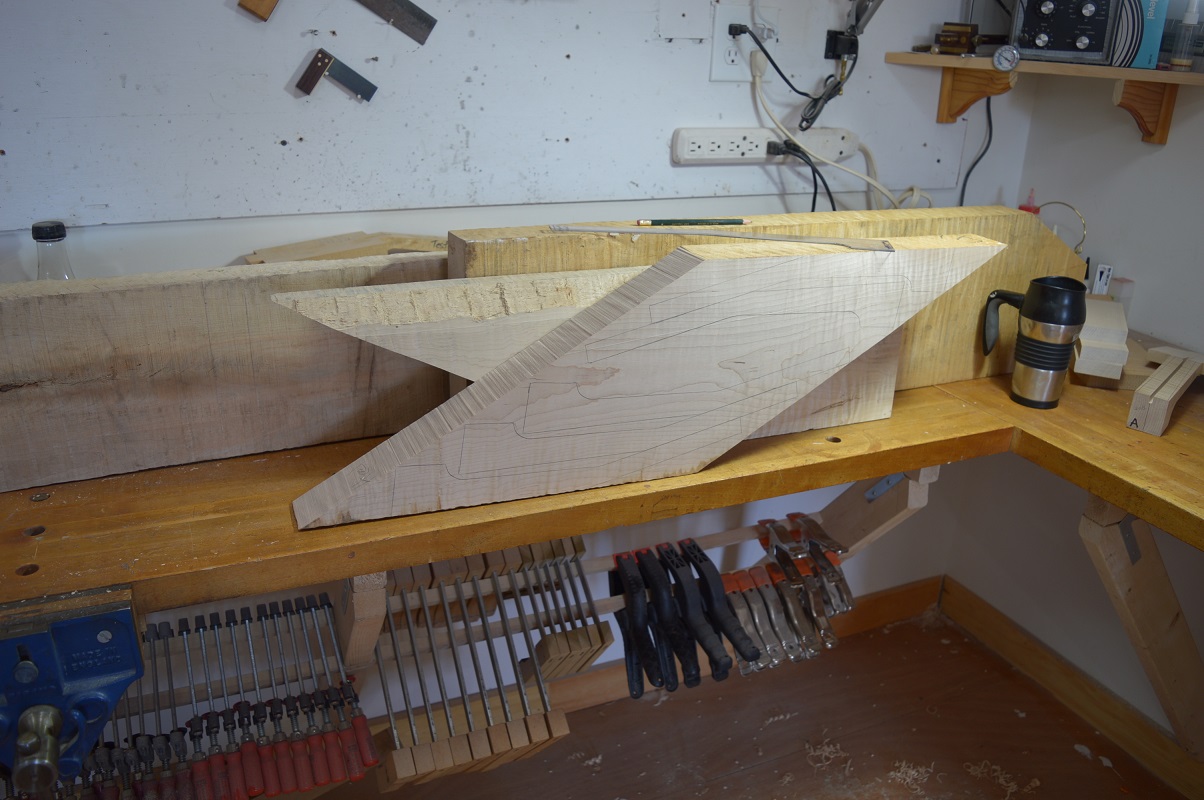
The process of making necks begins with large rough boards of curly maple which are then dressed and cut into sections. A pattern for the neck profile is then drawn onto the board in a way to maximize yield and produce the most figure. Only Rock Maple and Red Maple are used for necks. I generally make up a batch of 10 or so "blanks". The blanks are taken to a point of partial completion and then aged as they await being made into finished necks.
|
|
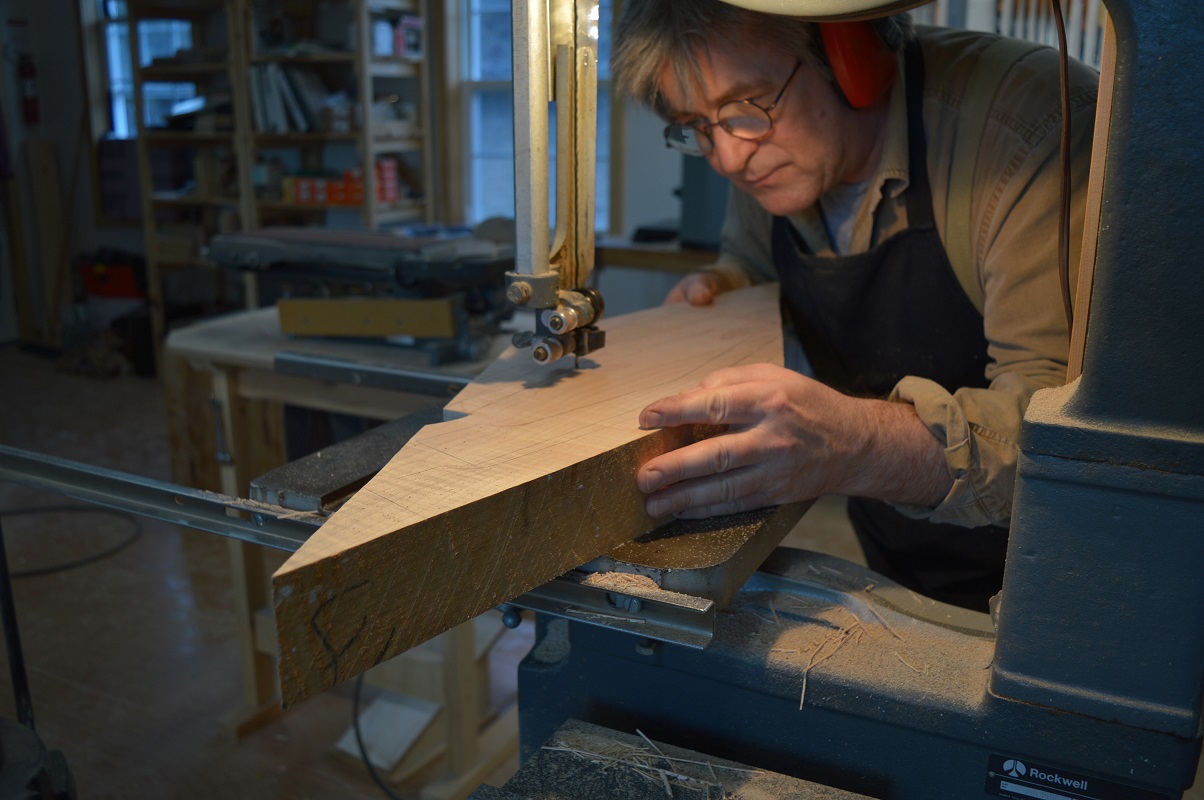
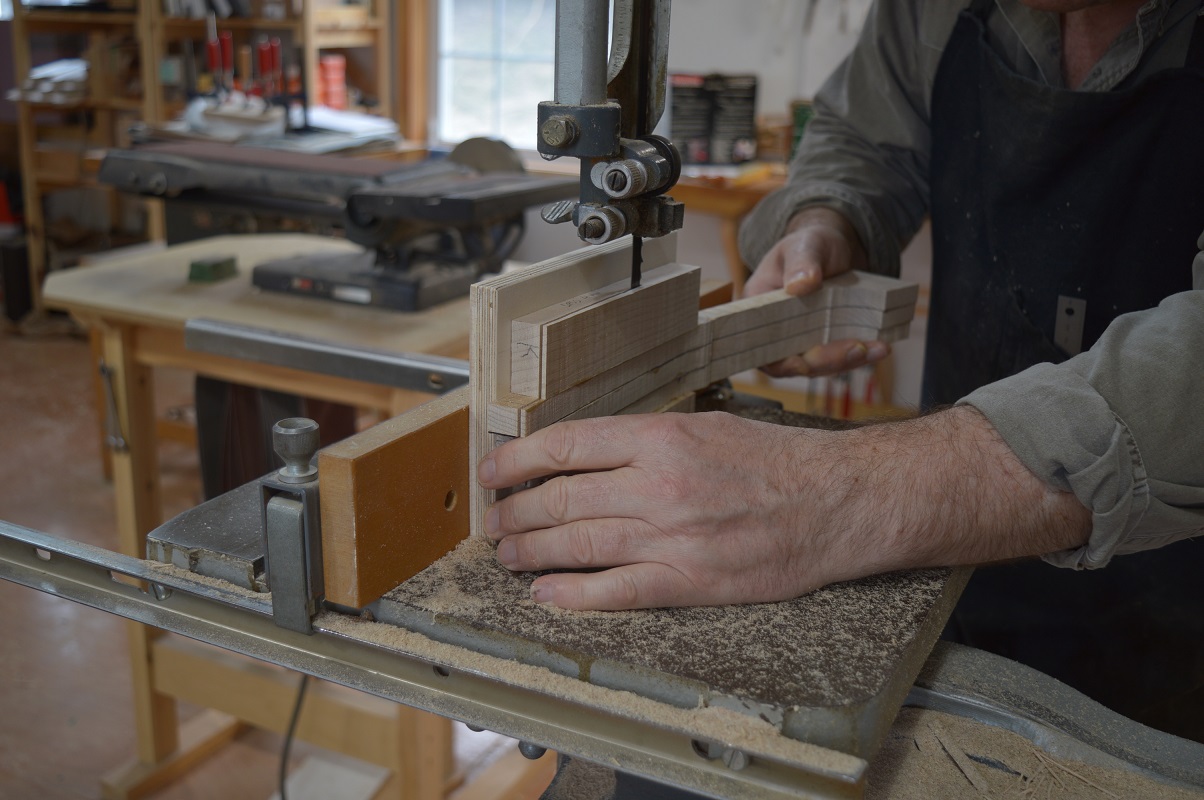
The neck billets are now sawn from the boards using a bandsaw.
|
|
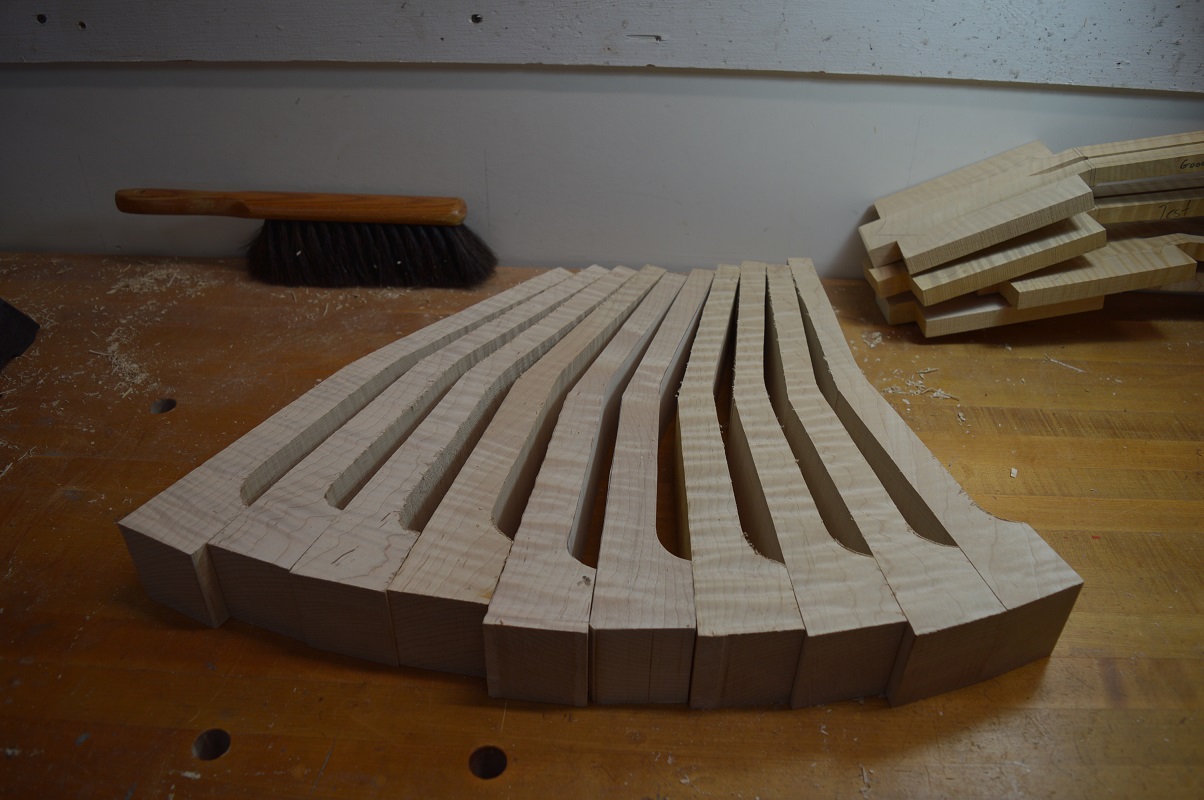
A batch of neck billets as they come off the bandsaw.
|
|
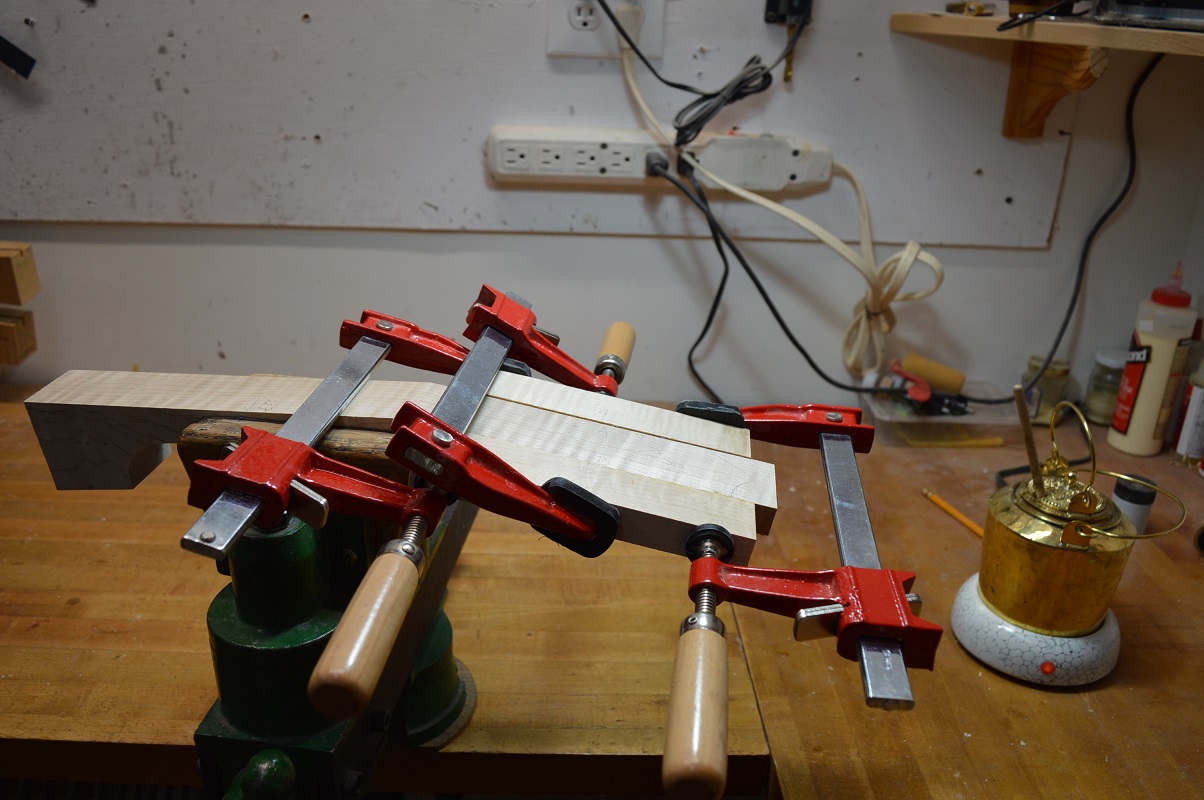
"Cheeks" of matching curly maple are glued to the side of the peghead using hot hide glue.
|
|
The batch of neck billets with the side cheeks glued on. The cheeks will be planed flat and to the proper angle from the fingerboard plane, the truss rod channel will be routed and then the blanks will be set aside. They will be used individually from here, paired to a specific mandolin as it is being made.
|
|
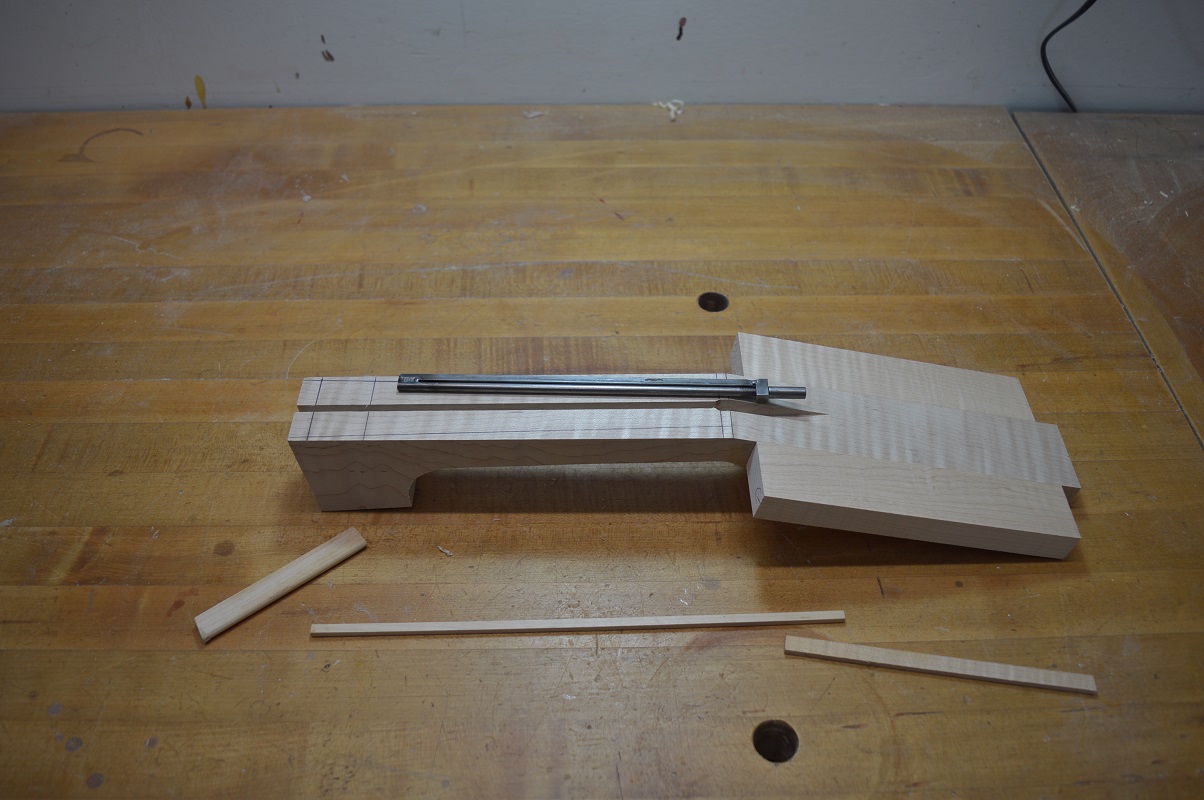
It's now time to install the truss rod. Apitius mandolins utilize a dual rod design that is far superior to the original 20's mandolins. This design does not add any compression force to the neck which can cause the neck to twist. By tightening the bottom rod, the top square rod is forced to arch over backwards, counteracting the forward bowing force of the strings. The rod is set in a round bottomed slot then filler sticks of maple are glued and clamped in place around the rod. This tight fit is enhanced by the application of a little silicone rubber to ensure that the rod will never develop an annoying rattle.
|
|
The peghead thickness is now rough sawn on the bandsaw. It will then be planed to proper thickness and given a slight, 1°of taper. Tapering the headstock profile was done on the original F-5s and I now do it to all of my mandolins, including A-models. It gives the peghead a more organic look that's easy on the eyes.
|
|
After planing, the back of the peghead is blended with the neck to produce a smooth transition and to facilitate the gluing of the rear peghead veneer.
|
|
The front an back peghead veneers are glued on using hot hide glue. As was traditionally done, the rear peghead veneer is of dyed pearwood and the face veneer is compiled of five layers of veneer that are .5mm thick for a total of 2.5mm. Four of the veneers are of maple with alternating grain direction and the fifth outer veneer is dyed pearwood. This was done on the original F-5s and makes for a very stable peghead.
|
|
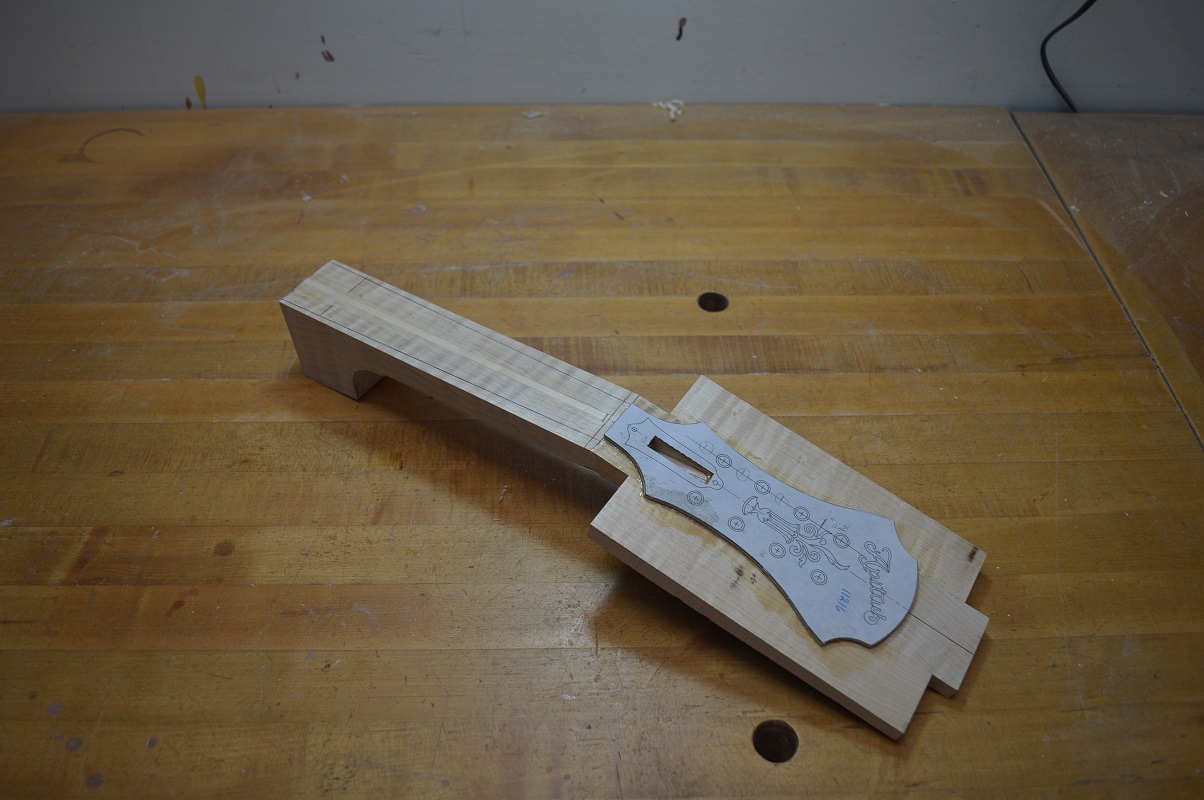
Here we see the peghead face veneer with a pattern glued to it. The pattern will be a guide in routing for the inlays later on. (see the inlay page for details)
|
|
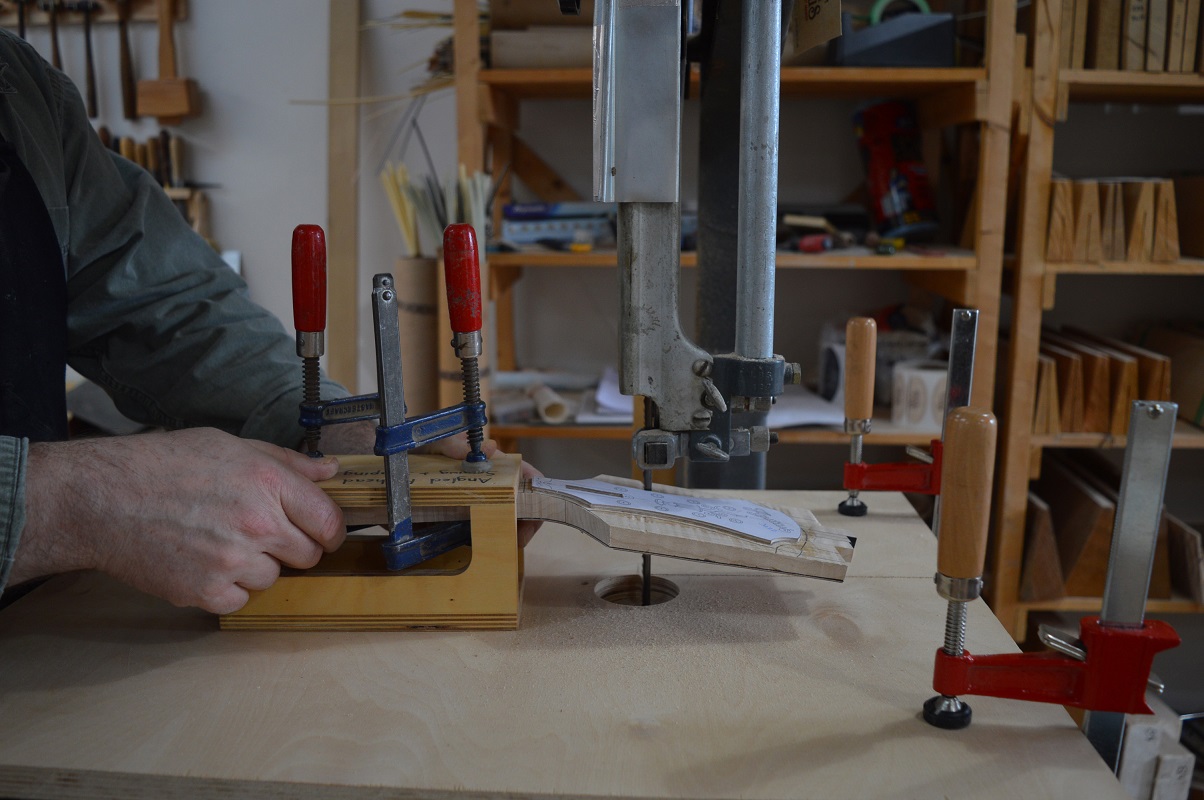
The peghead shape is rough-cut on the bandsaw at this stage. The neck is clamped in a fixture that keeps the plane of the fingerboard horizontal while the peghead shape is cut at an angle. Like the peghead taper, angle cut side edges add a tasteful organic look to the peghead. It takes more work but I believe that its worth the effort and so I even do it on my A-models.
|
|
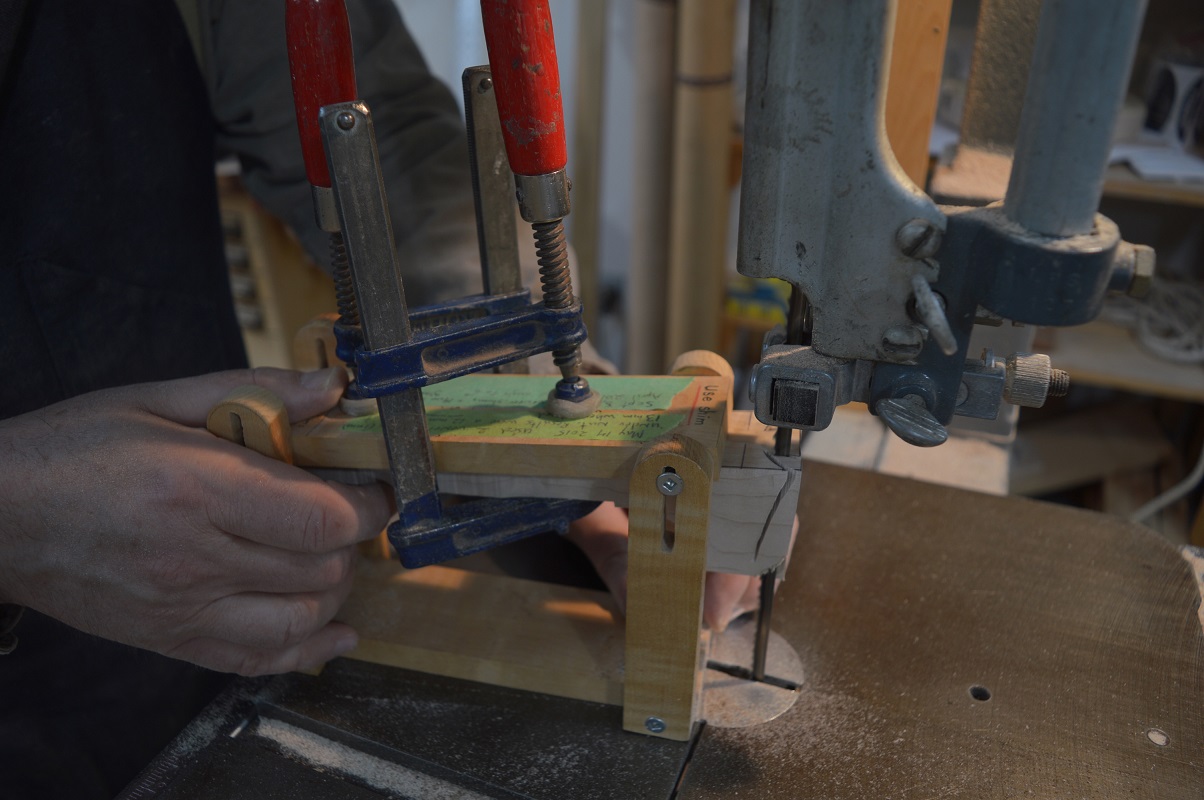
The dovetail contour is transfered onto the neck at this point and bandsawed to shape. I use a tapered dovetail, a joint that is still the very best for stringed instrument necks. The "cradle" holds the neck at the proper 6° back rake for an optimal string height at the bridge.
|
|
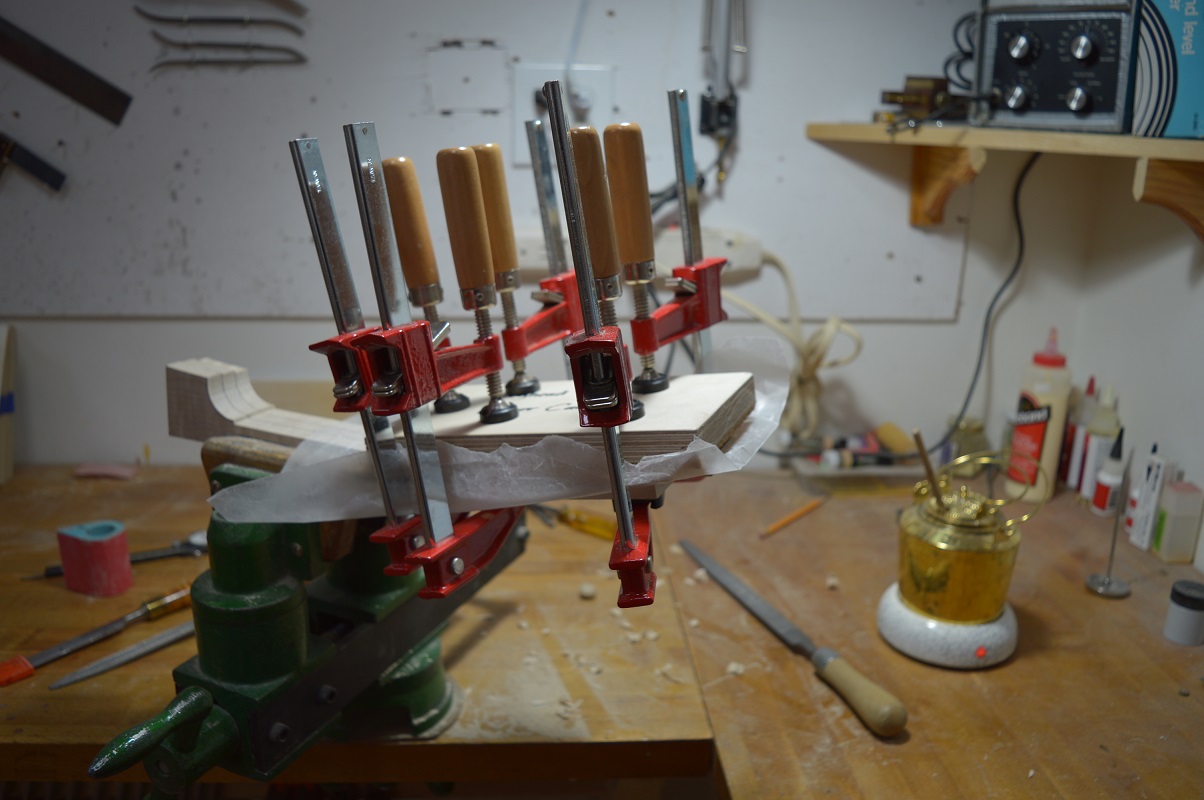
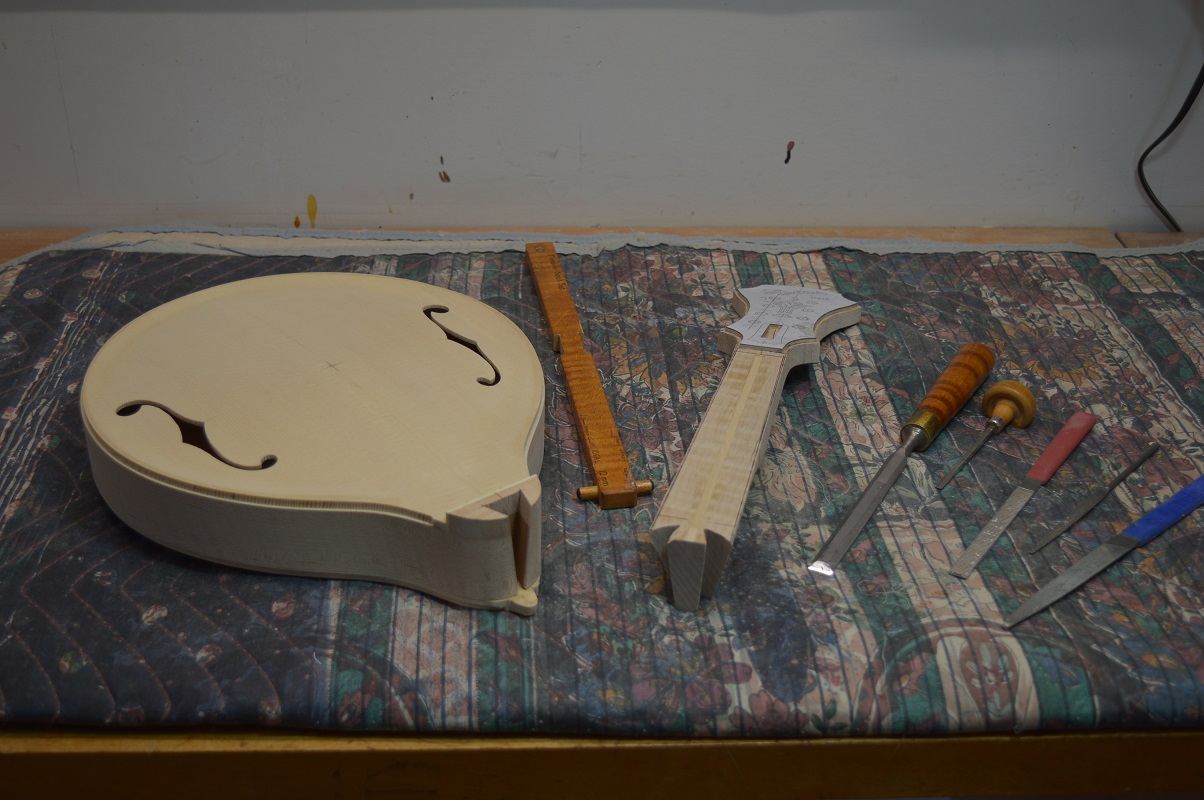
The tapered dovetail is final fitted using various chisels and files to create a perfect fit. The carved top mandolin has one of the most complicated joints of any instrument. It must have the perfect rake angle for proper bridge height and be in line with the centerline of the instrument while being fitted to the acutely curved surface of the body. No wonder I love it so much!
|
|
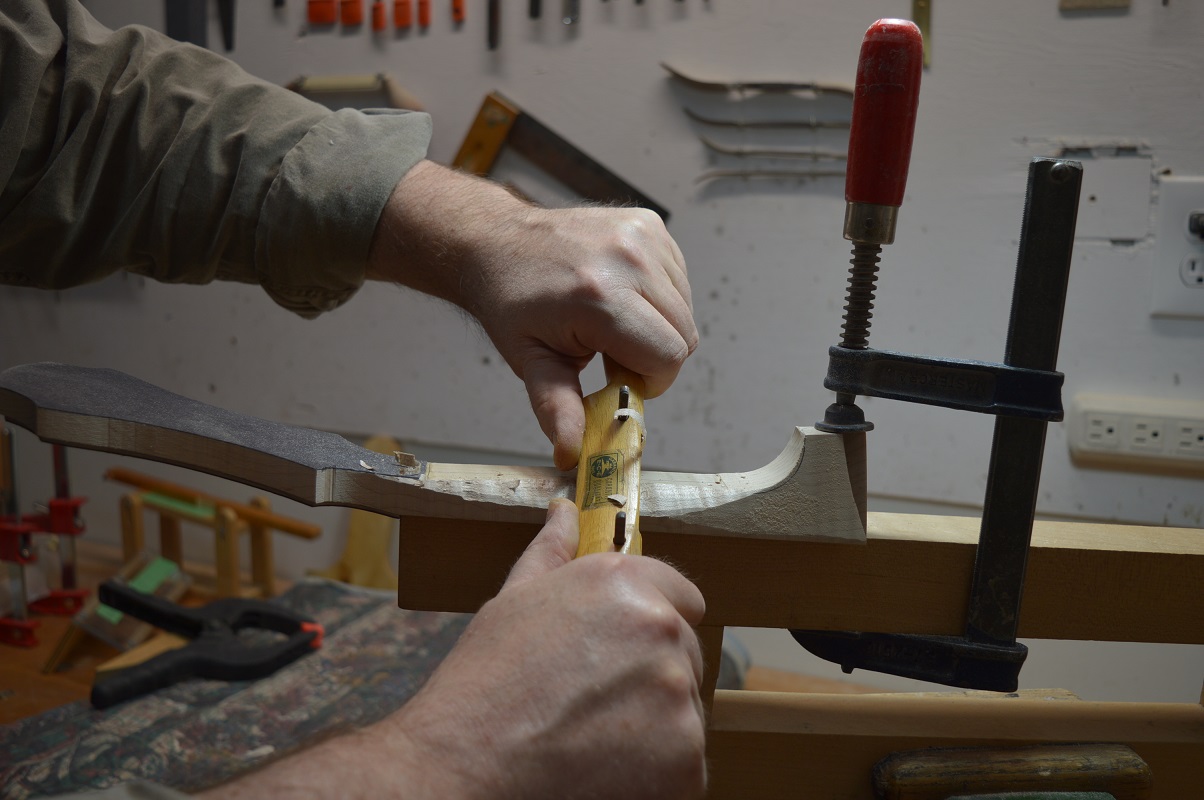
It is now time to carve the neck profile. I begin this process by roughing out the shape with a traditional spokeshave. The spokeshave got its name from being commonly used to shape the wooden spokes of a traditional wagon wheel.
|
|
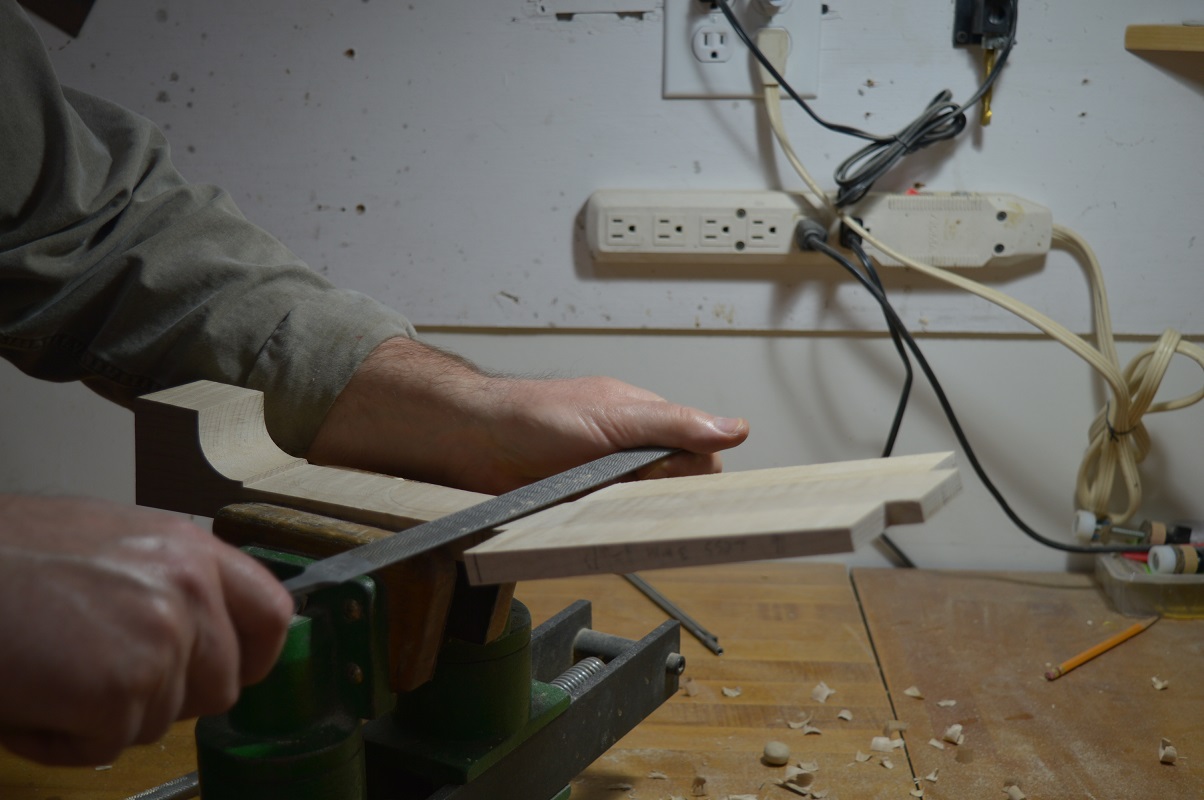
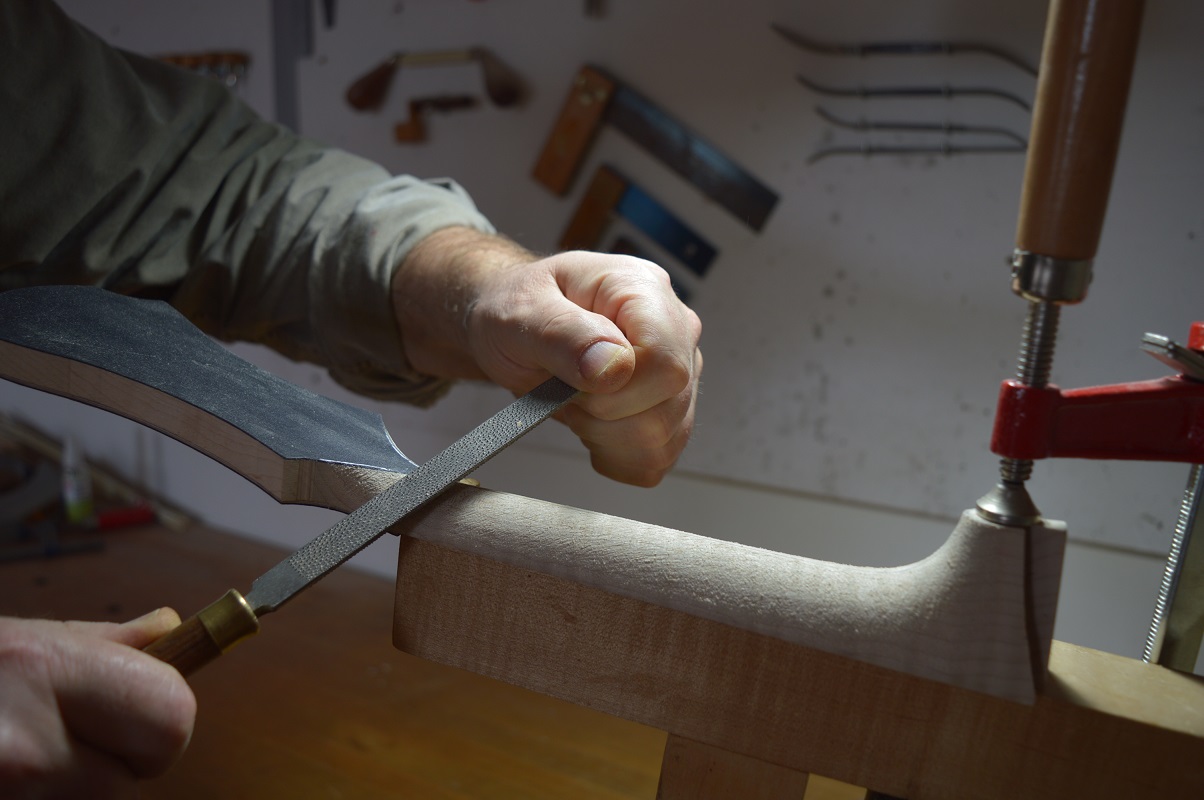
Final shaping of the neck profile is done with a rasp. In this photo I'm forming the decorative "widows peak" at the juncture of the neck and peghead. Even my A-models get this detail.
|
 RGB.jpg)