|
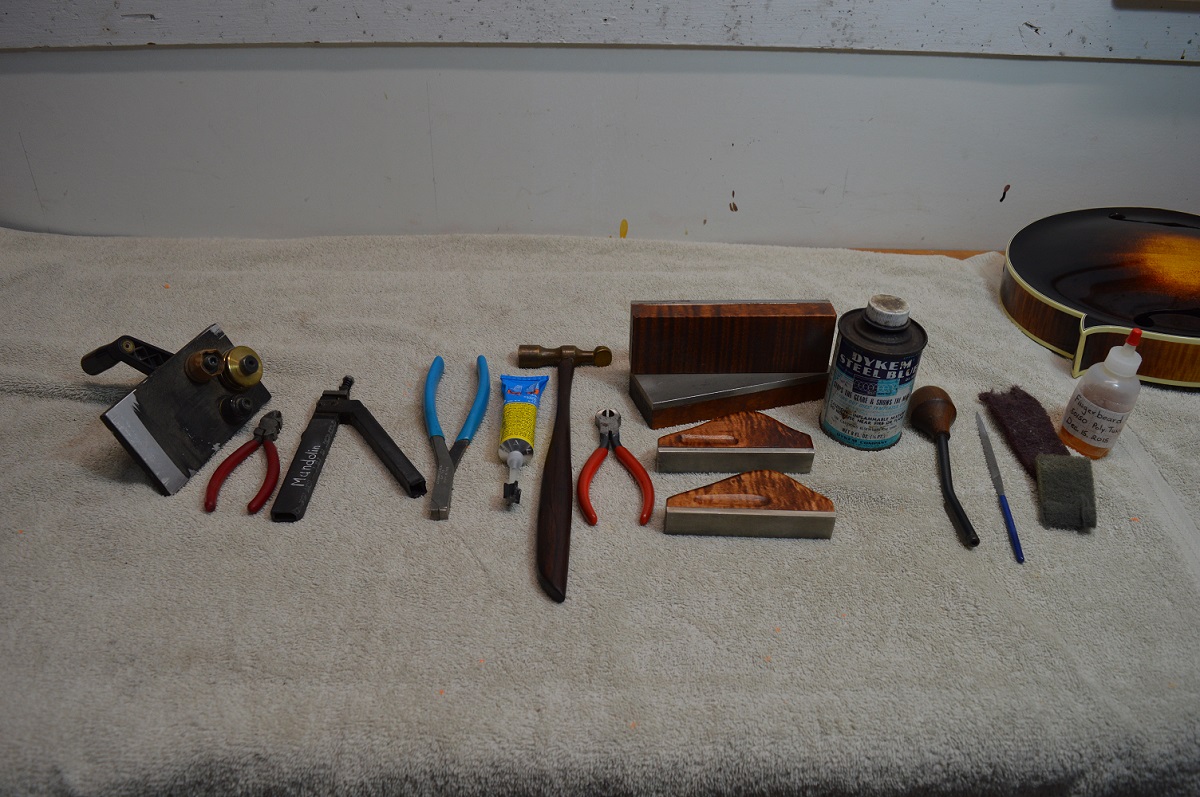
Here are most of the tools that I use for installing frets. From left to right they are, fret wire bender, side cutting nippers, fret tang nipper, fret barb compressor, model cement, brass fretting hammer, flush cut nippers, fret levellers, prussion blueing, fret crowning file, fret end dressing file, abrasive pads, fingerboard oil.
|

|
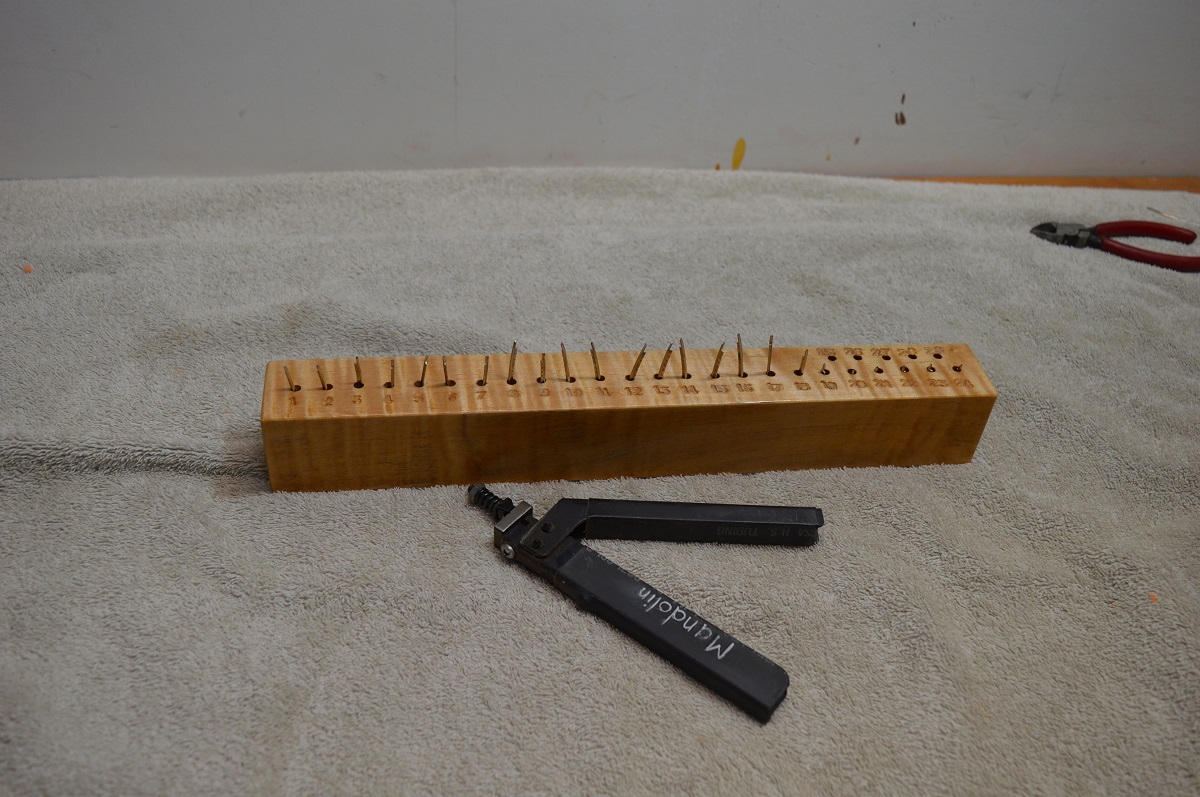
I begin by cutting all the frets to slightly over length and then I under-cut the fret tangs using a fret tang nipper. This is to allow the frets to overhang the binding which allows for a slightly wider string spacing than the original F-5s. The frets did not overhang the binding on the originals and there are very few people nowadays who would prefer non-overhanging frets.
|
|
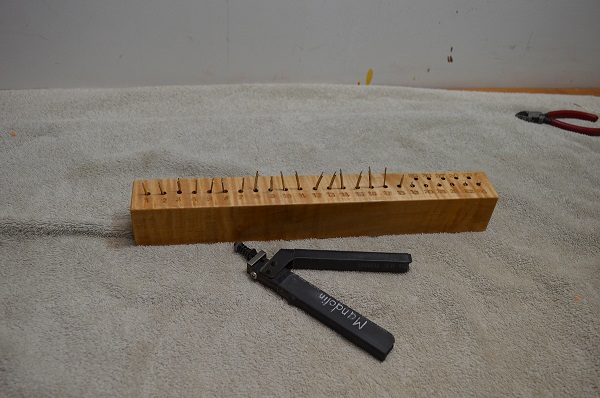
Here are the frets all prepared in a fret organiser
|

|
Before installing the frets, the fret slot edges are chamfered using a small, square file. This allows the frets to go in easier and seat better. Just as important, it also makes future removal and replacement of the frets much less prone to excessive chipping of the ebony board. High quality instruments are always designed with future maintenance as a consideration.
|
|
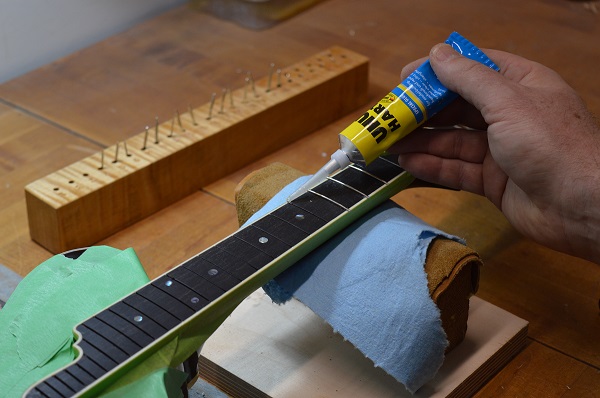
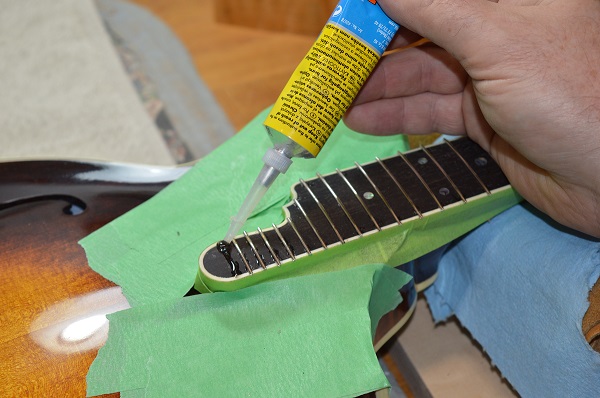
A bit of model cement is applied to the ends of the fret slots. I find this helps keep the fret ends down tight to the binding. It's an extra step but but I feel it makes for a better fret job.
|

|
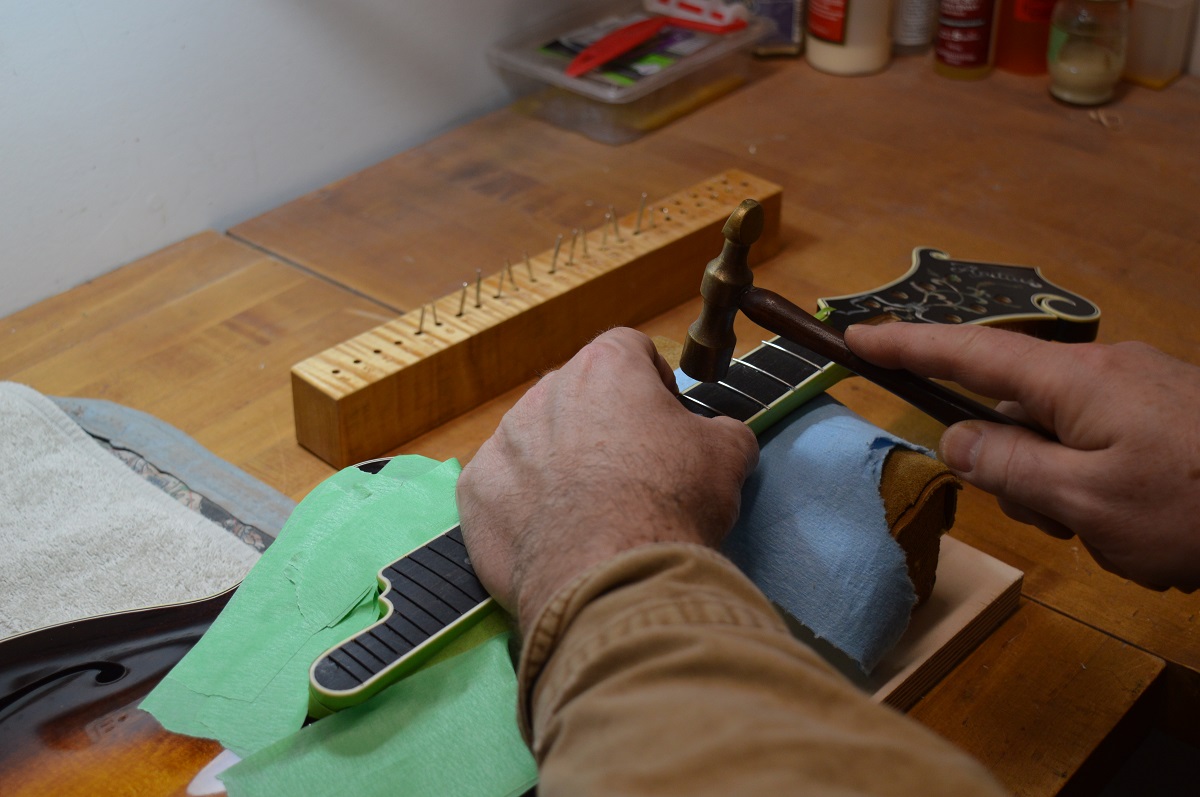
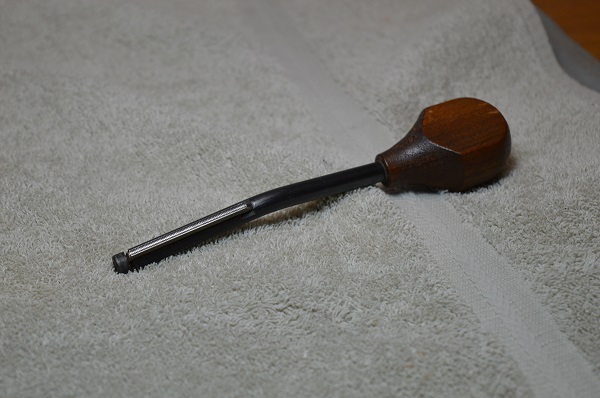
One by one the frets are hammered home. The hammer I am using is made of brass with a Brazillian rosewood handle. I designed the hammer and my late father, a machinist by trade, made the head for me.
|
|
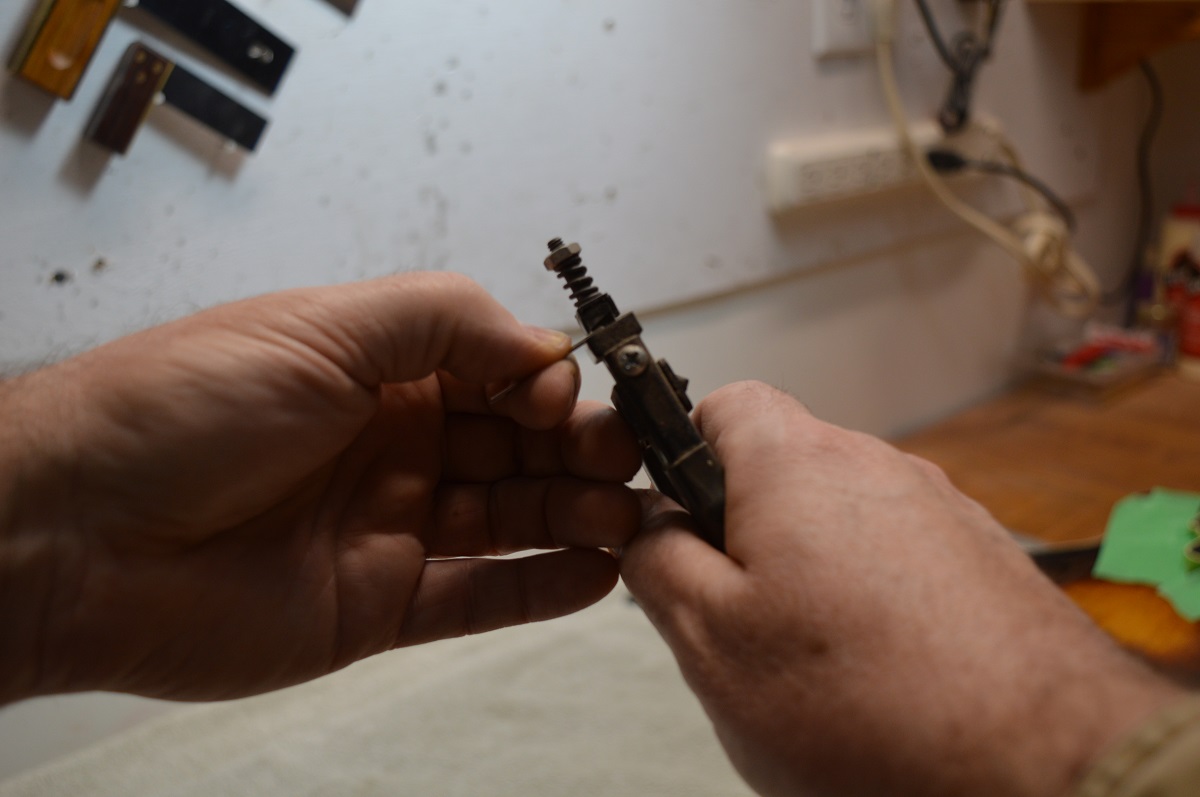
The suspended narrow section of the fingerboard cannot be hammered on and so these short frets have their barbs compressed with special pliers and are then glued in place with model cement.
|
|
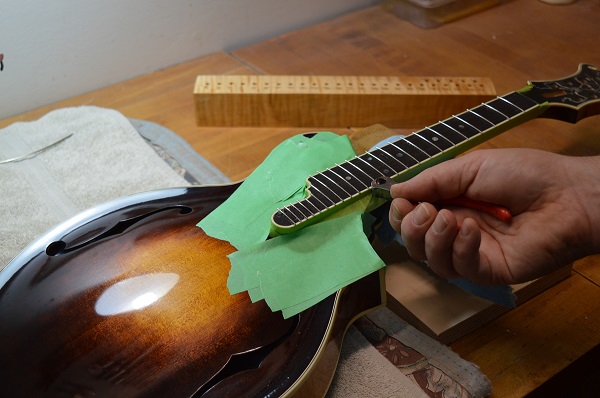
After all the frets have been hammered into thier slots, the excess length is nipped off with a pair of specially ground flush cutting nippers.
|
|
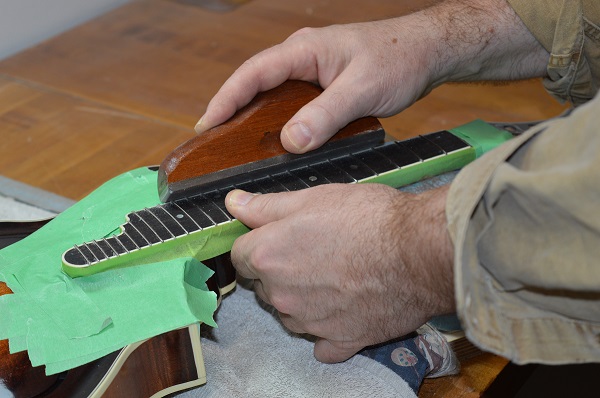
The first step in "dressing" the frets is to camfer their ends approximately 60 degrees to the fingerboard plane. This is done for playing comfort.
|
|
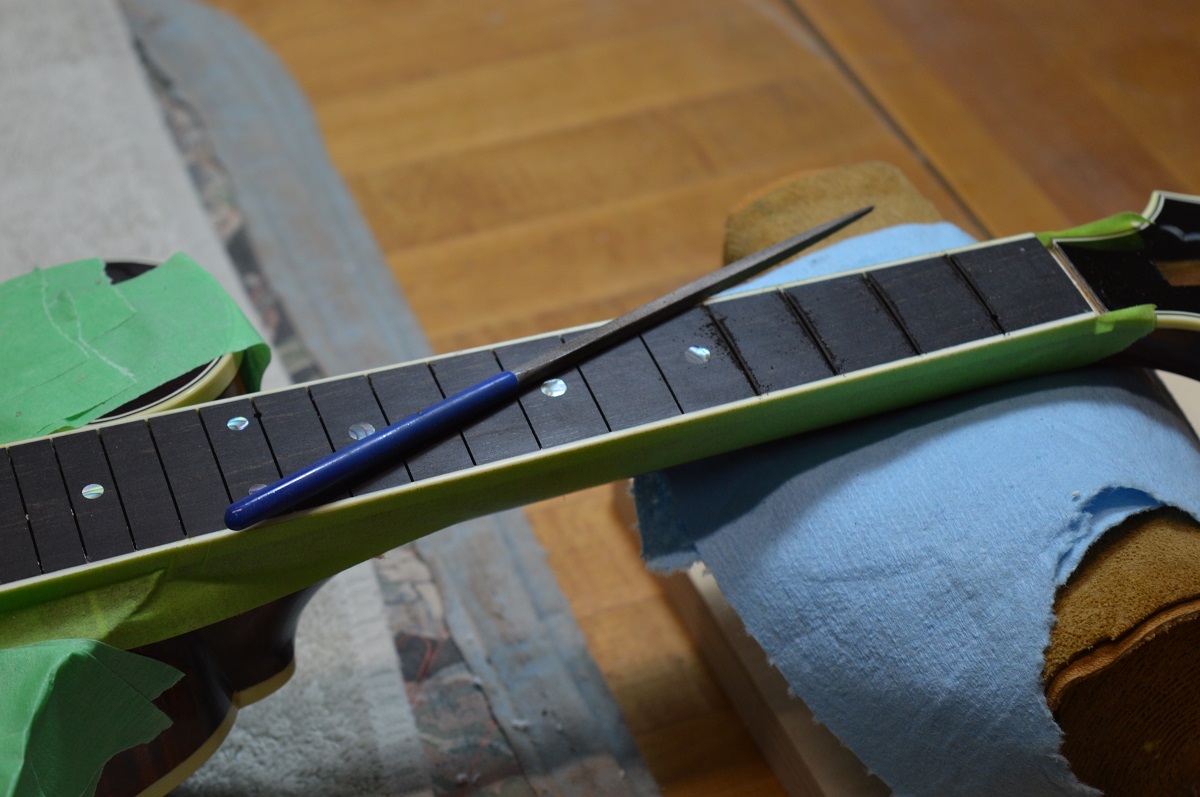
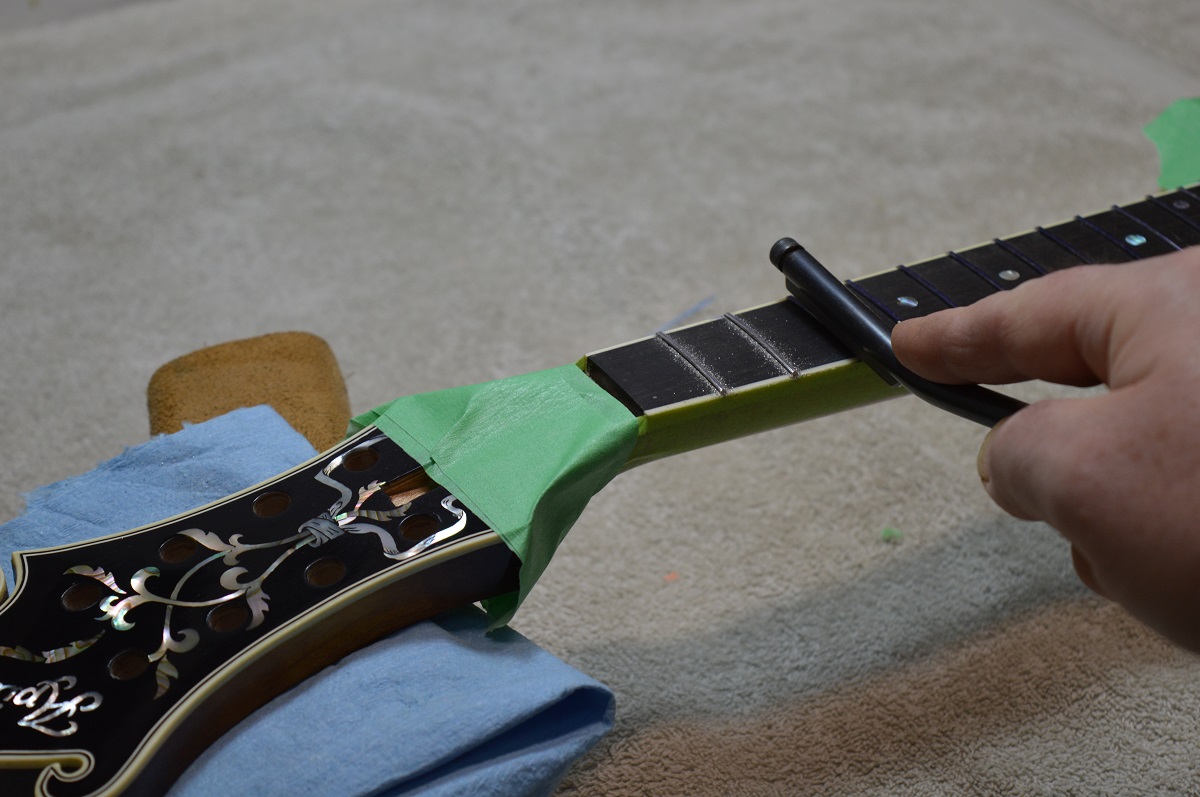
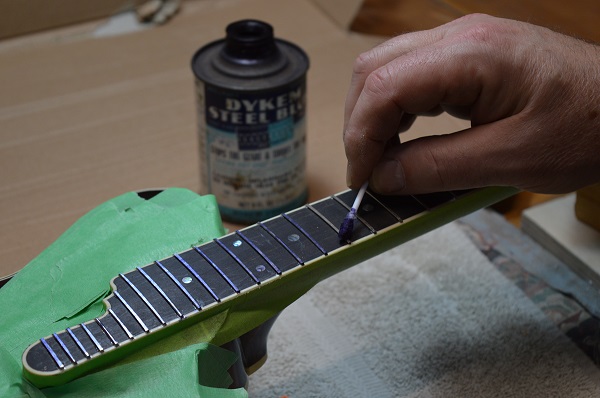
Here the frets have been leveled with levelling files and machinist's layout fluid is being brushed on. The blue dye will be a guide in the re-crowning of the frets.
|

|
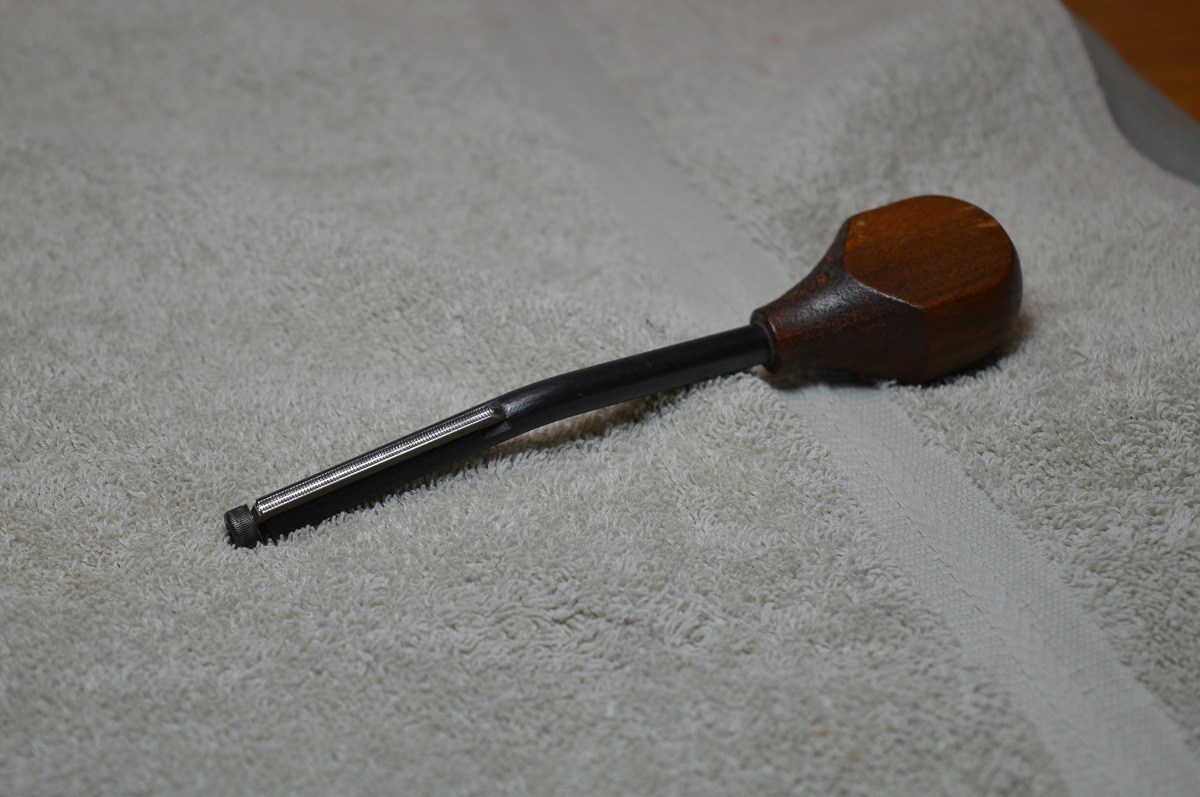
The round shape or "crown" of the frets is restored after the levelling process. Here I am using a specially modified "Gurian" fret file that will round over the flattened tops of the frets without touching the top centre of the frets, thus insuring that the frets remain absolutely level in order to provide a low playing action.
|
|
Here's a closer look at my fret file. It has a concave, half round file insert that I have specially ground so that it does not cut at the apex of the curve.
|

|
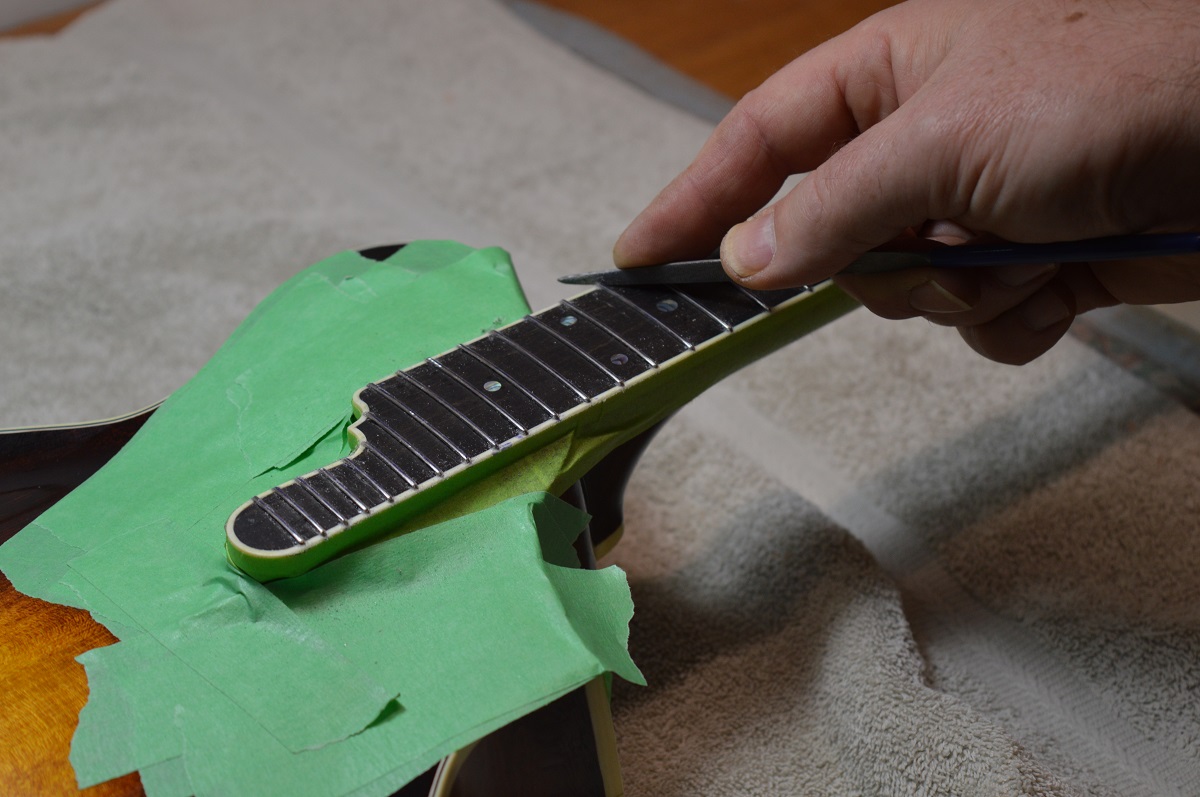
After the frets have all been re-crowned, their chamfered edges are given a few strokes with a small file to remove any sharp edges and give a good feel in the player's hands.
|

|
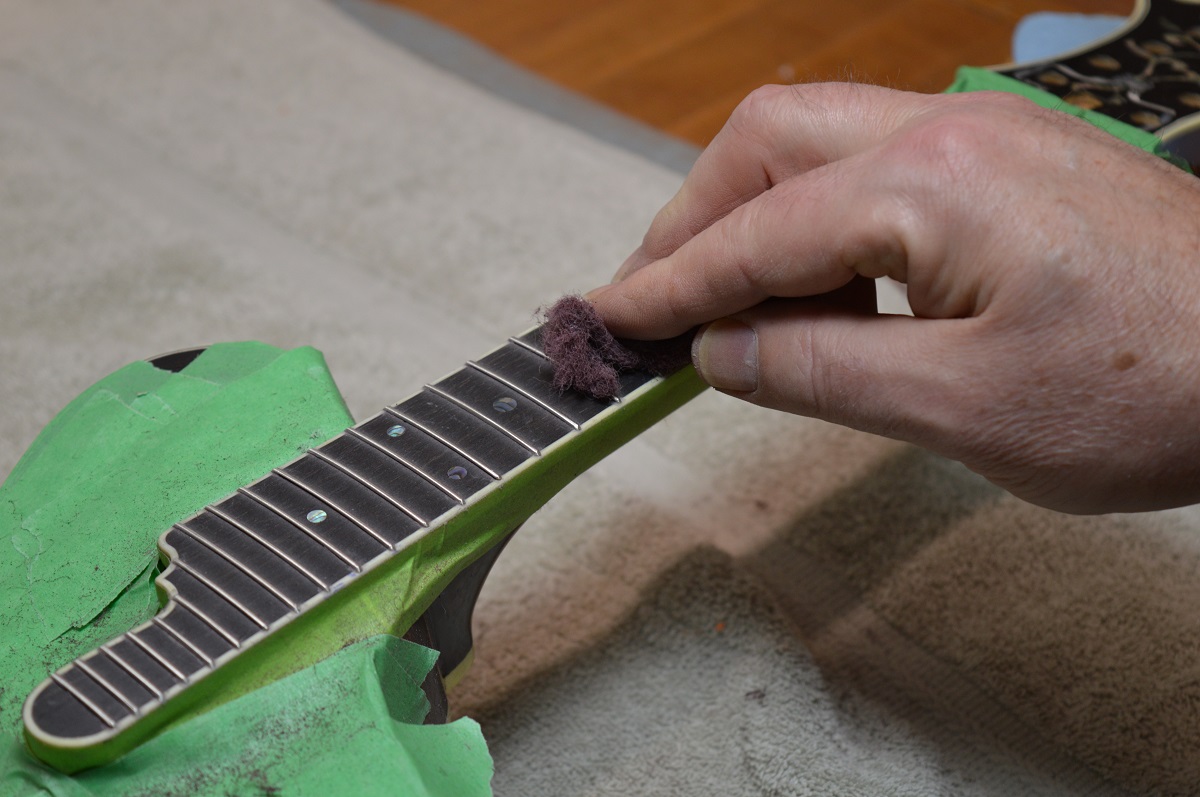
At this point, the frets are polished. First with a 400 grit abrasive pad followed by a 600 grit abrasive pad. This gives the frets a smooth feel and a polished look.
|

|
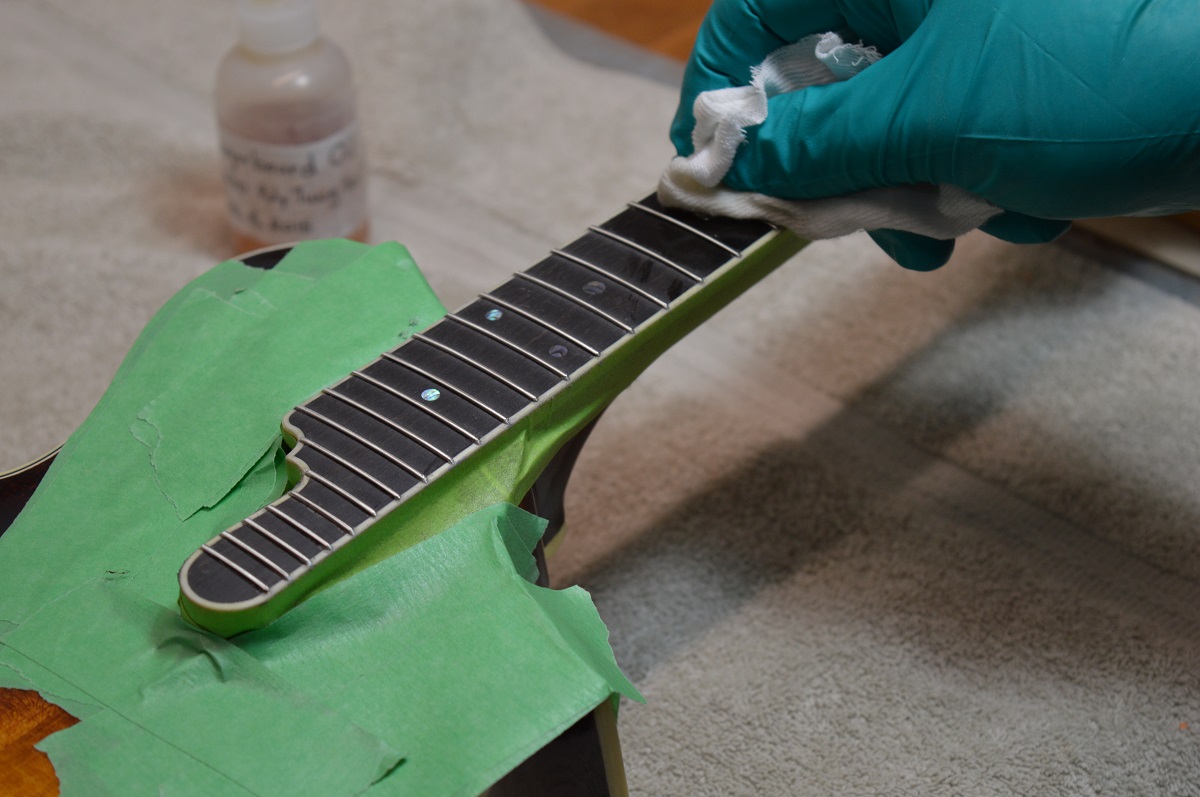
As a final step, I apply a coat of pure polymerized tung oil thinned with a bit of naptha. Tung oil is the toughest of all the natural drying oils. Boiled tung oil (polymerized) also gives a nice sheen and brings out the natural beauty of the genuine ebony fingerboard. I do not dye my fingerboards black as even many high end producers do. I use only ebony that is naturely black or occasionally it will have some attractive dark brown streaks.
As you can see there are many steps to doing quality fret work but it's paying attention to the details that separates the great instruments from the good ones.
|
 RGB.jpg)